If you need to copy a web part from one place to another, you can use the out of the box import/export functionality that SharePoint provides. A scenario where you have been asked to add a web part with specific configurations, to ten different locations, can present quite a challenge to perform manually. Here I will explain how you can do this in a more efficient manner.
First you’ll need to add and configure the web part that you need to replicate to a SharePoint page. Once you’re happy with the configuration of the web part, perform the following steps.
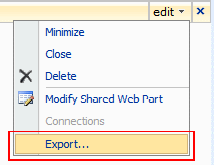
1. In edit mode, on the page where you’ve added the web part that you would like to export, click on the ‘Edit’ menu to the right of the web part title.

2. Click ‘Export…’ from the drop down.
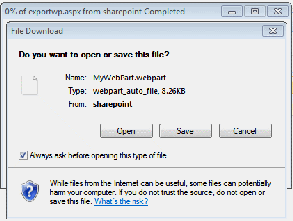
3. You will then be prompted to save the a web part definition file. This file is of an xml format and contains properties that define that web part that you configured. Save the file.
4. Then browse to the page on which you’d like the import this web part. Site Actions > Edit Page.
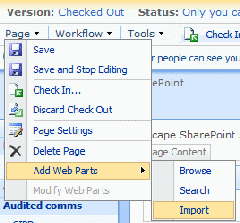
5. From the editing toolbar, click on the Page (menu) > Add Web Parts > Import. A toolbar to the right of the page content will open up.
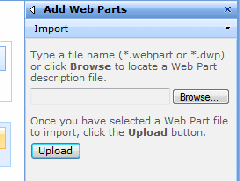
6. Click the ‘Browse’ button, browse and select the downloaded web part file and click the ‘Upload’ button.
7. You will now see the web part uploaded but at the bottom of the property panel, there will be a dropdown from which you need to select the web part zone that you would like to add the web part to. Once this is done, click on the ‘Import’ button.
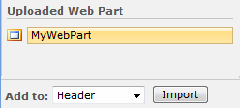
You will now see your imported web part in the relevant web part zone. You can repeat the web part upload process to upload the your web parts to which ever pages require them. This should be a lot quicker than setting each one up manually.

Note: If you need to import the web part definition to another SharePoint site collection or farm, you’ll need to open the .webpart file in notepad and remove the following property from it:
<property name="ListGuid" type="string" />